Build a User Management App with Angular
This tutorial demonstrates how to build a basic user management app. The app authenticates and identifies the user, stores their profile information in the database, and allows the user to log in, update their profile details, and upload a profile photo. The app uses:
- Supabase Database - a Postgres database for storing your user data and Row Level Security so data is protected and users can only access their own information.
- Supabase Auth - allow users to sign up and log in.
- Supabase Storage - allow users to upload a profile photo.
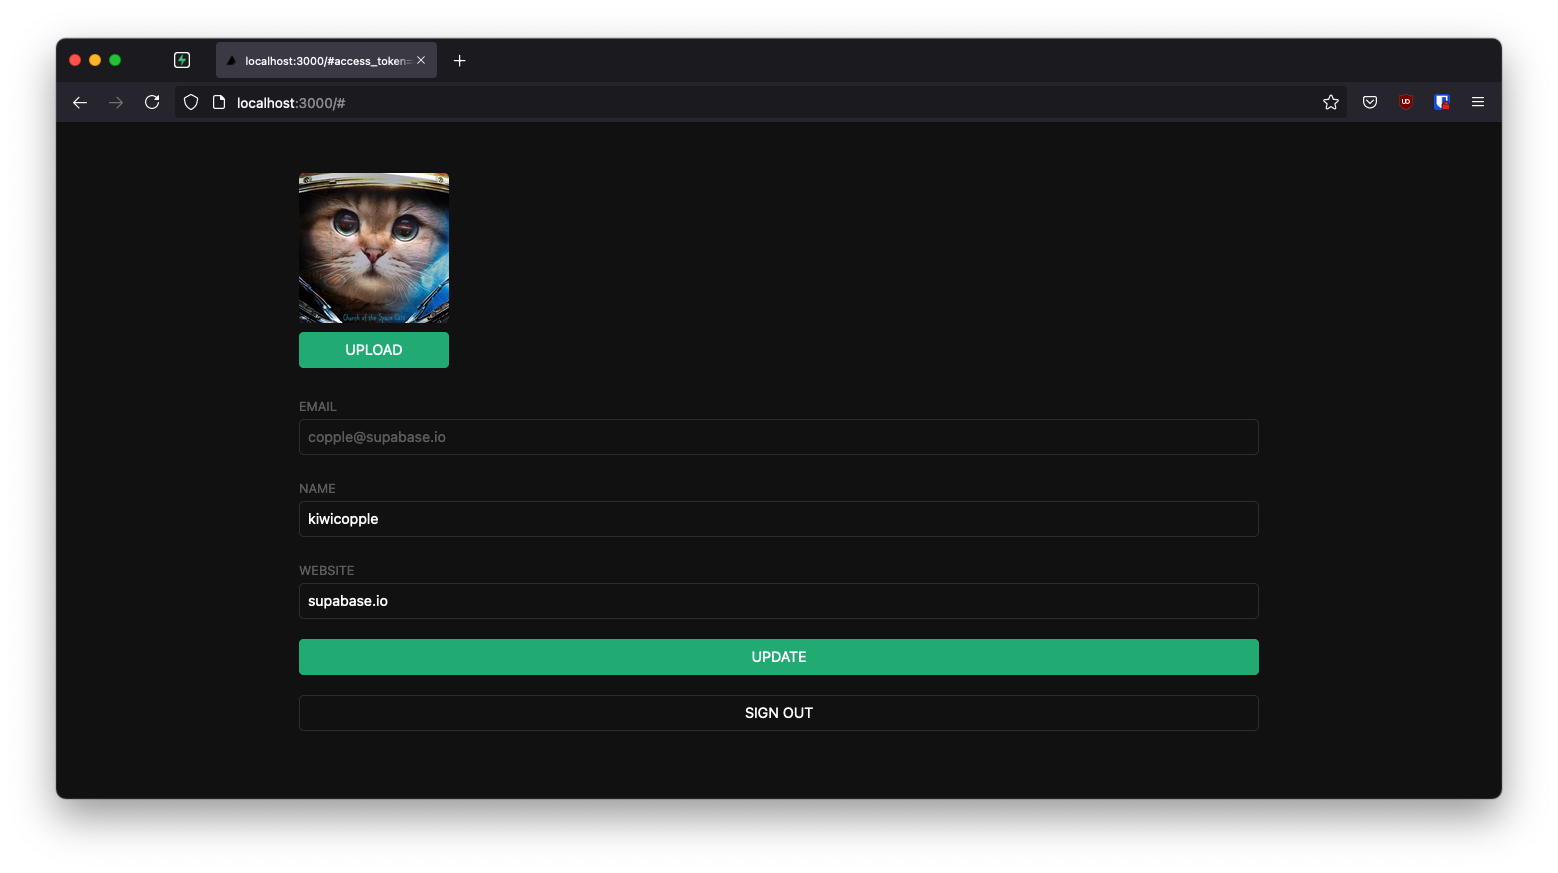
If you get stuck while working through this guide, you can find the full example on GitHub.
Project setup#
Before you start building you need to set up the Database and API. You can do this by starting a new Project in Supabase and then creating a "schema" inside the database.
Create a project#
- Create a new project in the Supabase Dashboard.
- Enter your project details.
- Wait for the new database to launch.
Set up the database schema#
Now set up the database schema. You can use the "User Management Starter" quickstart in the SQL Editor, or you can copy/paste the SQL from below and run it.
- Go to the SQL Editor page in the Dashboard.
- Click User Management Starter under the Reference > Examples tab.
- Click Run.
You can pull the database schema down to your local project by running the db pull command. Read the local development docs for detailed instructions.
supabase link --project-ref <project-id># You can get <project-id> from your project's dashboard URL: https://supabase.com/dashboard/project/<project-id>supabase db pullGet API details#
To interact with data in database tables, you use the client libraries that wrap the auto-generated Data API endpoints, authenticating using the Project URL and key from the project Connect dialog.
See API keys for a full explanation of all key types, their uses, and where to find them.
Building the app#
Start with building the Angular app from scratch.
Initialize an Angular app#
Use the Angular CLI to initialize an app called supabase-angular setting some defaults that you can change to suit your needs:
npx ng new supabase-angular --routing false --style css --standalone false --ssr falsecd supabase-angularInstall supabase-js:
npm install @supabase/supabase-jsCreate a src/environments directory and save API URL and key that you copied earlier as environment variables in a new src/environments/environment.ts file.
The application exposes these variables in the browser, and that's fine as Supabase enables Row Level Security by default on all tables.
export const = { : false, : 'YOUR_SUPABASE_URL', : 'YOUR_SUPABASE_PUBLISHABLE_KEY',}With the API credentials in place, create a SupabaseService with ng g s supabase and add the following code to initialize the Supabase client and implement functions to communicate with the Supabase API.
import { Injectable } from '@angular/core'import { AuthChangeEvent, createClient, Session, SupabaseClient, User } from '@supabase/supabase-js'import { environment } from '../environments/environment'export interface Profile { id?: string username: string website: string avatar_url: string}@Injectable({ providedIn: 'root',})export class SupabaseService { private supabase: SupabaseClient constructor() { this.supabase = createClient(environment.supabaseUrl, environment.supabasePublishableKey) } async getUser(): Promise<User | null> { const { data, error } = await this.supabase.auth.getUser() if (error) { return null } return data.user } profile(user: User) { return this.supabase .from('profiles') .select(`username, website, avatar_url`) .eq('id', user.id) .single() } authChanges(callback: (event: AuthChangeEvent, session: Session | null) => void) { return this.supabase.auth.onAuthStateChange(callback) } signIn(email: string) { return this.supabase.auth.signInWithOtp({ email }) } signOut() { return this.supabase.auth.signOut() } updateProfile(profile: Profile) { const update = { ...profile, updated_at: new Date(), } return this.supabase.from('profiles').upsert(update) } downLoadImage(path: string) { return this.supabase.storage.from('avatars').download(path) } uploadAvatar(filePath: string, file: File) { return this.supabase.storage.from('avatars').upload(filePath, file) }}Optionally, update src/styles.css to style the app. You can find the full contents of this file in the example repository.
Set up a sign-in component#
You need an Angular component to manage sign-ins and sign-ups. The component uses Magic Links, so users can sign in with their email without using passwords.
Did you know?
You can customize other emails sent out to new users, including the email's looks, content, and query parameters from the Authentication > Email section of the Dashboard.
Create an AuthComponent with the ng g c auth Angular CLI command and add the following code.
import { Component } from '@angular/core'import { FormBuilder, FormGroup } from '@angular/forms'import { SupabaseService } from '../supabase.service'@Component({ selector: 'app-auth', templateUrl: './auth.component.html', styleUrls: ['./auth.component.css'], standalone: false,})export class AuthComponent { loading = false signInForm: FormGroup constructor( private readonly supabase: SupabaseService, private readonly formBuilder: FormBuilder ) { this.signInForm = this.formBuilder.group({ email: '', }) } async onSubmit(): Promise<void> { try { this.loading = true const email = this.signInForm.value.email as string const { error } = await this.supabase.signIn(email) if (error) throw error alert('Check your email for the login link!') } catch (error) { if (error instanceof Error) { alert(error.message) } } finally { this.signInForm.reset() this.loading = false } }}Account page#
Users also need a way to edit their profile details and manage their accounts after signing in. Create an AccountComponent with the ng g c account Angular CLI command and add the following code.
import { Component, Input, OnInit } from '@angular/core'import { FormBuilder, FormGroup } from '@angular/forms'import { User } from '@supabase/supabase-js'import { Profile, SupabaseService } from '../supabase.service'@Component({ selector: 'app-account', templateUrl: './account.component.html', styleUrls: ['./account.component.css'], standalone: false,})export class AccountComponent implements OnInit { loading = false profile!: Profile updateProfileForm!: FormGroup// ... @Input() user!: User constructor( private readonly supabase: SupabaseService, private formBuilder: FormBuilder ) { this.updateProfileForm = this.formBuilder.group({ username: '', website: '', avatar_url: '', }) } async ngOnInit(): Promise<void> { await this.getProfile() const { username, website, avatar_url } = this.profile this.updateProfileForm.patchValue({ username, website, avatar_url, }) } async getProfile() { try { this.loading = true const { data: profile, error, status } = await this.supabase.profile(this.user) if (error && status !== 406) { throw error } if (profile) { this.profile = profile } } catch (error) { if (error instanceof Error) { alert(error.message) } } finally { this.loading = false } } async updateProfile(): Promise<void> { try { this.loading = true const username = this.updateProfileForm.value.username as string const website = this.updateProfileForm.value.website as string const avatar_url = this.updateProfileForm.value.avatar_url as string const { error } = await this.supabase.updateProfile({ id: this.user.id, username, website, avatar_url, }) if (error) throw error } catch (error) { if (error instanceof Error) { alert(error.message) } } finally { this.loading = false } } async signOut() { await this.supabase.signOut() }}Profile photos#
Add a way for users to upload a profile photo. Supabase configures every project with Storage for managing large files like photos and videos.
Create an upload widget#
Create an AvatarComponent with the ng g c avatar Angular CLI command and add the following code.
import { Component, EventEmitter, Input, Output } from '@angular/core'import { SafeResourceUrl, DomSanitizer } from '@angular/platform-browser'import { SupabaseService } from '../supabase.service'@Component({ selector: 'app-avatar', templateUrl: './avatar.component.html', styleUrls: ['./avatar.component.css'], standalone: false,})export class AvatarComponent { _avatarUrl: SafeResourceUrl | undefined uploading = false @Input() set avatarUrl(url: string | null) { if (url) { this.downloadImage(url) } } @Output() upload = new EventEmitter<string>() constructor( private readonly supabase: SupabaseService, private readonly dom: DomSanitizer ) {} async downloadImage(path: string) { try { const { data } = await this.supabase.downLoadImage(path) if (data instanceof Blob) { this._avatarUrl = this.dom.bypassSecurityTrustResourceUrl(URL.createObjectURL(data)) } } catch (error) { if (error instanceof Error) { console.error('Error downloading image: ', error.message) } } } async uploadAvatar(event: any) { try { this.uploading = true if (!event.target.files || event.target.files.length === 0) { throw new Error('You must select an image to upload.') } const file = event.target.files[0] const fileExt = file.name.split('.').pop() const filePath = `${Math.random()}.${fileExt}` await this.supabase.uploadAvatar(filePath, file) this.upload.emit(filePath) } catch (error) { if (error instanceof Error) { alert(error.message) } } finally { this.uploading = false } }}Update the Account component#
With the Avatar component created, update AccountComponent to include it:
import { Component, Input, OnInit } from '@angular/core'import { FormBuilder, FormGroup } from '@angular/forms'import { User } from '@supabase/supabase-js'import { Profile, SupabaseService } from '../supabase.service'@Component({ selector: 'app-account', templateUrl: './account.component.html', styleUrls: ['./account.component.css'], standalone: false,})export class AccountComponent implements OnInit { loading = false profile!: Profile updateProfileForm!: FormGroup get avatarUrl() { return this.updateProfileForm.value.avatar_url as string } async updateAvatar(event: string): Promise<void> { this.updateProfileForm.patchValue({ avatar_url: event, }) await this.updateProfile() } @Input() user!: User constructor( private readonly supabase: SupabaseService, private formBuilder: FormBuilder ) { this.updateProfileForm = this.formBuilder.group({ username: '', website: '', avatar_url: '', }) } async ngOnInit(): Promise<void> { await this.getProfile() const { username, website, avatar_url } = this.profile this.updateProfileForm.patchValue({ username, website, avatar_url, }) } async getProfile() { try { this.loading = true const { data: profile, error, status } = await this.supabase.profile(this.user) if (error && status !== 406) { throw error } if (profile) { this.profile = profile } } catch (error) { if (error instanceof Error) { alert(error.message) } } finally { this.loading = false } } async updateProfile(): Promise<void> { try { this.loading = true const username = this.updateProfileForm.value.username as string const website = this.updateProfileForm.value.website as string const avatar_url = this.updateProfileForm.value.avatar_url as string const { error } = await this.supabase.updateProfile({ id: this.user.id, username, website, avatar_url, }) if (error) throw error } catch (error) { if (error instanceof Error) { alert(error.message) } } finally { this.loading = false } } async signOut() { await this.supabase.signOut() }}You also need to change app.module.ts to include the ReactiveFormsModule from the @angular/forms package.
import { NgModule } from '@angular/core'import { BrowserModule } from '@angular/platform-browser'import { ReactiveFormsModule } from '@angular/forms'import { AppComponent } from './app.component'import { AuthComponent } from './auth/auth.component'import { AccountComponent } from './account/account.component'import { AvatarComponent } from './avatar/avatar.component'@NgModule({ declarations: [AppComponent, AuthComponent, AccountComponent, AvatarComponent], imports: [BrowserModule, ReactiveFormsModule], providers: [], bootstrap: [AppComponent],})export class AppModule {}Launch!#
With all the components in place, change the contents of AppComponent to include the new components and Auth logic:
The Supabase Auth SDK contains three different functions for authenticating user access to applications:
Summary of the methods#
- Use
getClaimsto protect pages and user data. It reads the access token from storage and verifies it. Locally via the WebCrypto API and a cached JWKS endpoint when the project uses asymmetric signing keys (the default for new projects), or by callinggetUsersolely to validate when symmetric keys are in use. The returned claims always come from decoding the JWT, not from a user lookup. When the access token is close to expiring,getClaimsrefreshes the session before it verifies, which is how a server-rendered session stays alive. getUsermakes a network call to the project's Auth instance to get the user record, which includes the most up-to-date information about the user at the cost of a network call.getSessionwhen you need the raw session (the access token, refresh token, and expiry). For example to forward the access token to another service. The session is loaded directly from local storage and isn't re-validated against the Auth server, so the embedded user object shouldn't be trusted on its own when storage is shared with the client (cookies, request headers). To verify identity, validate the access token withgetClaims, or callgetUserfor a fresh, server-confirmed user record.
In summary: use getClaims to verify identity (typically for protecting pages and data), getUser when you need an up-to-date user record from the Auth server, and getSession when you need the access or refresh token directly, but don't rely on the user object it returns for authorization decisions.
import { Component, OnInit } from '@angular/core'import { User } from '@supabase/supabase-js'import { SupabaseService } from './supabase.service'@Component({ selector: 'app-root', templateUrl: './app.component.html', styleUrls: ['./app.component.css'], standalone: false,})export class AppComponent implements OnInit { constructor(private readonly supabase: SupabaseService) {} title = 'angular-user-management' user: User | null = null async ngOnInit() { this.user = await this.supabase.getUser() this.supabase.authChanges(async () => { this.user = await this.supabase.getUser() }) }}Now run the application in a terminal:
npm run startOpen the browser to localhost:4200 and you should see the completed app.
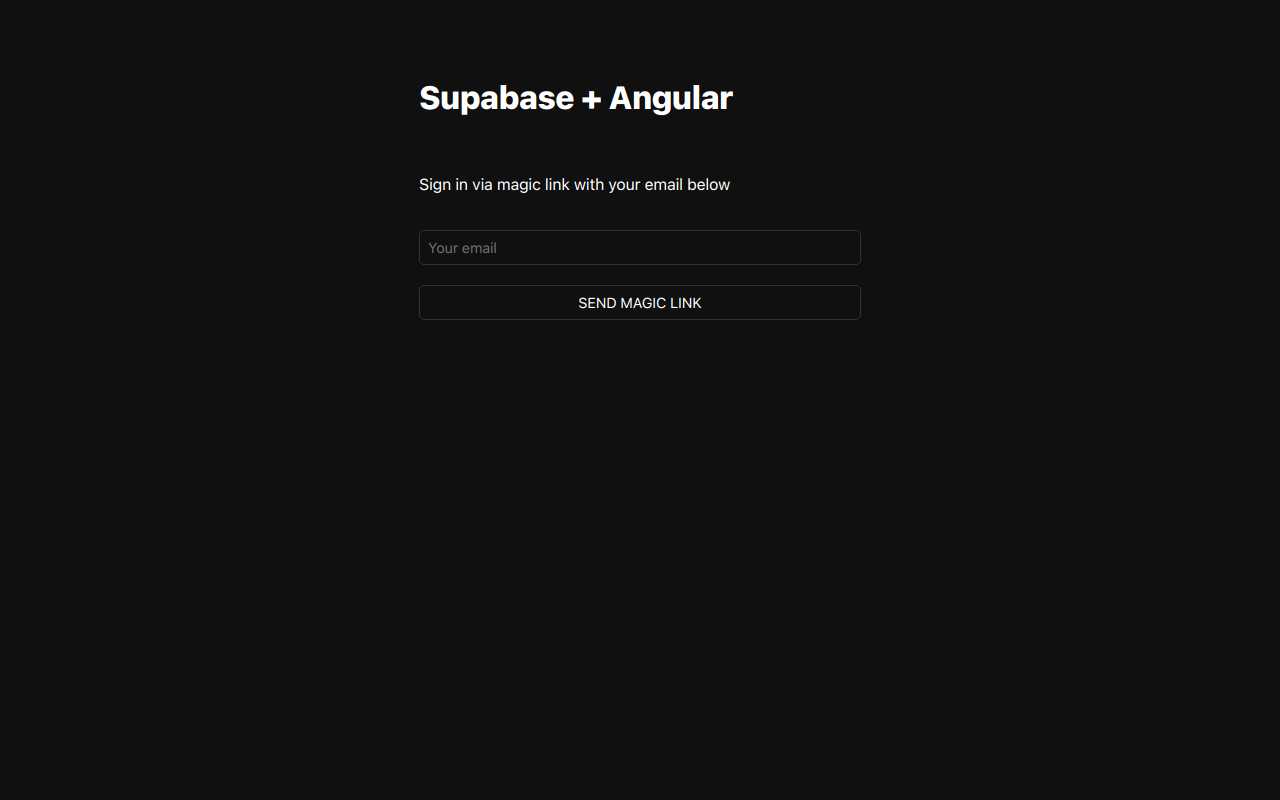
At this stage you have a fully functional application!