Build a User Management App with Svelte
This tutorial demonstrates how to build a basic user management app. The app authenticates and identifies the user, stores their profile information in the database, and allows the user to log in, update their profile details, and upload a profile photo. The app uses:
- Supabase Database - a Postgres database for storing your user data and Row Level Security so data is protected and users can only access their own information.
- Supabase Auth - allow users to sign up and log in.
- Supabase Storage - allow users to upload a profile photo.
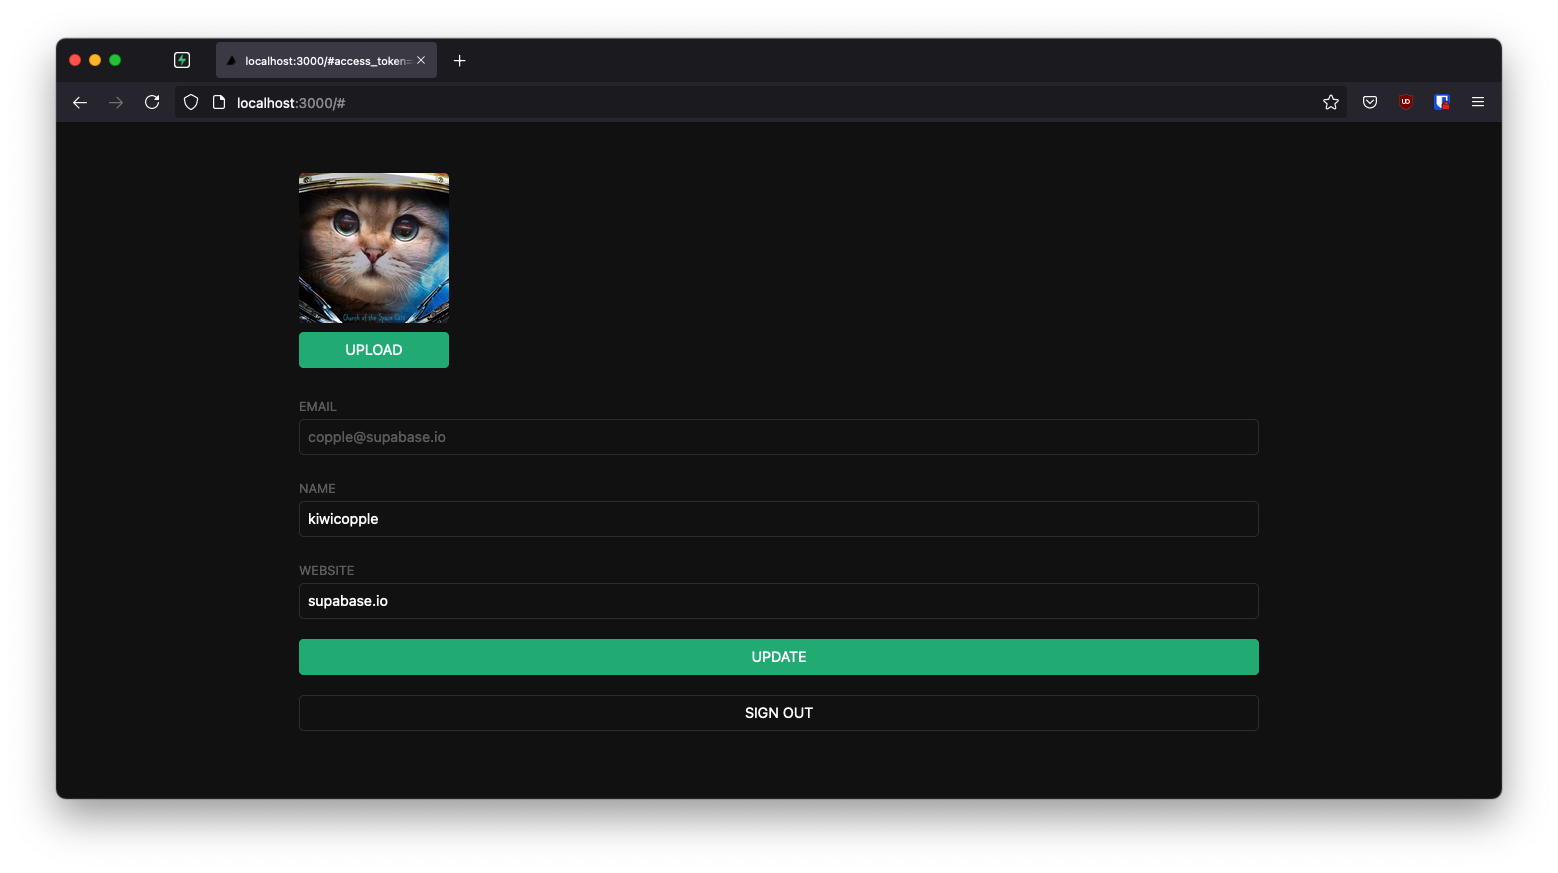
If you get stuck while working through this guide, you can find the full example on GitHub.
Project setup#
Before you start building you need to set up the Database and API. You can do this by starting a new Project in Supabase and then creating a "schema" inside the database.
Create a project#
- Create a new project in the Supabase Dashboard.
- Enter your project details.
- Wait for the new database to launch.
Set up the database schema#
Now set up the database schema. You can use the "User Management Starter" quickstart in the SQL Editor, or you can copy/paste the SQL from below and run it.
- Go to the SQL Editor page in the Dashboard.
- Click User Management Starter under the Reference > Examples tab.
- Click Run.
You can pull the database schema down to your local project by running the db pull command. Read the local development docs for detailed instructions.
supabase link --project-ref <project-id># You can get <project-id> from your project's dashboard URL: https://supabase.com/dashboard/project/<project-id>supabase db pullGet API details#
To interact with data in database tables, you use the client libraries that wrap the auto-generated Data API endpoints, authenticating using the Project URL and key from the project Connect dialog.
See API keys for a full explanation of all key types, their uses, and where to find them.
Building the app#
Start building the Svelte app from scratch.
Initialize a Svelte app#
You can use the Vite Svelte TypeScript Template to initialize an app called supabase-svelte:
npm create vite@latest supabase-svelte -- --template svelte-tscd supabase-sveltenpm installInstall the only additional dependency: supabase-js
npm install @supabase/supabase-jsFinally, save the environment variables in a .env.
All you need are the API URL and the key that you copied earlier.
VITE_SUPABASE_URL=YOUR_SUPABASE_URLVITE_SUPABASE_PUBLISHABLE_KEY=YOUR_SUPABASE_PUBLISHABLE_KEYNow you have the API credentials in place, create a helper file to initialize the Supabase client. These variables will be exposed on the browser, and that's fine since you have Row Level Security enabled on the Database.
import { createClient } from '@supabase/supabase-js'const supabaseUrl = import.meta.env.VITE_SUPABASE_URLconst supabasePublishableKey = import.meta.env.VITE_SUPABASE_PUBLISHABLE_KEYexport const supabase = createClient(supabaseUrl, supabasePublishableKey)App styling (optional)#
Optionally, update the CSS file src/app.css to make the app look better.
You can find the full contents of this file in the example repository.
Set up a sign-in component#
Set up a Svelte component to manage sign-ins and sign-ups. It uses Magic Links, so users can sign in with their email without using passwords.
<script lang="ts"> import { supabase } from "../supabaseClient"; let loading = $state(false); let email = $state(""); const handleLogin = async () => { try { loading = true; const { error } = await supabase.auth.signInWithOtp({ email }); if (error) throw error; alert("Check your email for login link!"); } catch (error) { if (error instanceof Error) { alert(error.message); } } finally { loading = false; } };</script><div class="row flex-center flex"> <div class="col-6 form-widget" aria-live="polite"> <h1 class="header">Supabase + Svelte</h1> <p class="description">Sign in via magic link with your email below</p> <form class="form-widget" onsubmit={(e) => { e.preventDefault(); handleLogin(); }}> <div> <label for="email">Email</label> <input id="email" class="inputField" type="email" placeholder="Your email" bind:value={email} /> </div> <div> <button type="submit" class="button block" aria-live="polite" disabled={loading} > <span>{loading ? "Loading" : "Send magic link"}</span> </button> </div> </form> </div></div>Account page#
After a user is signed in, allow them to edit their profile details and manage their account.
Create a new component for that called Account.svelte.
<script lang="ts"> import { onMount } from "svelte"; import type { AuthSession } from "@supabase/supabase-js"; import { supabase } from "../supabaseClient";// ... interface Props { session: AuthSession; } let { session }: Props = $props(); let loading = $state(false); let username = $state<string | null>(null); let website = $state<string | null>(null); let avatarUrl = $state<string | null>(null); onMount(() => { getProfile(); }); const getProfile = async () => { try { loading = true; const { user } = session; const { data, error, status } = await supabase .from("profiles") .select("username, website, avatar_url") .eq("id", user.id) .single(); if (error && status !== 406) throw error; if (data) { username = data.username; website = data.website; avatarUrl = data.avatar_url; } } catch (error) { if (error instanceof Error) { alert(error.message); } } finally { loading = false; } }; const updateProfile = async () => { try { loading = true; const { user } = session; const updates = { id: user.id, username, website, avatar_url: avatarUrl, updated_at: new Date().toISOString(), }; const { error } = await supabase.from("profiles").upsert(updates); if (error) { throw error; } } catch (error) { if (error instanceof Error) { alert(error.message); } } finally { loading = false; } };</script><form onsubmit={(e) => { e.preventDefault(); updateProfile(); }} class="form-widget"> <div>Email: {session.user.email}</div> <div> // ... <label for="username">Name</label> <input id="username" type="text" bind:value={username} /> </div> <div> <label for="website">Website</label> <input id="website" type="text" bind:value={website} /> </div> <div> <button type="submit" class="button primary block" disabled={loading}> {loading ? "Saving ..." : "Update profile"} </button> </div> <button type="button" class="button block" onclick={() => supabase.auth.signOut()} > Sign Out </button></form>Profile photos#
Next, add a way for users to upload a profile photo. Supabase configures every project with Storage for managing large files like photos and videos.
Create an upload widget#
Start by creating a new component:
<script lang="ts"> import { supabase } from "../supabaseClient"; interface Props { size: number; url?: string | null; onupload?: () => void; } let { size, url = $bindable(null), onupload }: Props = $props(); let avatarUrl = $state<string | null>(null); let uploading = $state(false); let files = $state<FileList>(); const downloadImage = async (path: string) => { try { const { data, error } = await supabase.storage .from("avatars") .download(path); if (error) { throw error; } const url = URL.createObjectURL(data); avatarUrl = url; } catch (error) { if (error instanceof Error) { console.log("Error downloading image: ", error.message); } } }; const uploadAvatar = async () => { try { uploading = true; if (!files || files.length === 0) { throw new Error("You must select an image to upload."); } const file = files[0]; const fileExt = file.name.split(".").pop(); const filePath = `${Math.random()}.${fileExt}`; const { error } = await supabase.storage .from("avatars") .upload(filePath, file); if (error) { throw error; } url = filePath; onupload?.(); } catch (error) { if (error instanceof Error) { alert(error.message); } } finally { uploading = false; } }; $effect(() => { if (url) downloadImage(url); });</script><div style="width: {size}px" aria-live="polite"> {#if avatarUrl} <img src={avatarUrl} alt={avatarUrl ? "Avatar" : "No image"} class="avatar image" style="height: {size}px, width: {size}px" /> {:else} <div class="avatar no-image" style="height: {size}px, width: {size}px"></div> {/if} <div style="width: {size}px"> <label class="button primary block" for="single"> {uploading ? "Uploading ..." : "Upload avatar"} </label> <span style="display:none"> <input type="file" id="single" accept="image/*" bind:files onchange={uploadAvatar} disabled={uploading} /> </span> </div></div>Update the account component#
With the Avatar component created, update src/lib/Account.svelte to include it:
<script lang="ts"> import { onMount } from "svelte"; import type { AuthSession } from "@supabase/supabase-js"; import { supabase } from "../supabaseClient"; import Avatar from "./Avatar.svelte"; interface Props { session: AuthSession; } let { session }: Props = $props(); let loading = $state(false); let username = $state<string | null>(null); let website = $state<string | null>(null); let avatarUrl = $state<string | null>(null); onMount(() => { getProfile(); }); const getProfile = async () => { try { loading = true; const { user } = session; const { data, error, status } = await supabase .from("profiles") .select("username, website, avatar_url") .eq("id", user.id) .single(); if (error && status !== 406) throw error; if (data) { username = data.username; website = data.website; avatarUrl = data.avatar_url; } } catch (error) { if (error instanceof Error) { alert(error.message); } } finally { loading = false; } }; const updateProfile = async () => { try { loading = true; const { user } = session; const updates = { id: user.id, username, website, avatar_url: avatarUrl, updated_at: new Date().toISOString(), }; const { error } = await supabase.from("profiles").upsert(updates); if (error) { throw error; } } catch (error) { if (error instanceof Error) { alert(error.message); } } finally { loading = false; } };</script><form onsubmit={(e) => { e.preventDefault(); updateProfile(); }} class="form-widget"> <div>Email: {session.user.email}</div> <div> <Avatar bind:url={avatarUrl} size={150} onupload={updateProfile} /> <label for="username">Name</label> <input id="username" type="text" bind:value={username} /> </div> <div> <label for="website">Website</label> <input id="website" type="text" bind:value={website} /> </div> <div> <button type="submit" class="button primary block" disabled={loading}> {loading ? "Saving ..." : "Update profile"} </button> </div> <button type="button" class="button block" onclick={() => supabase.auth.signOut()} > Sign Out </button></form>Launch!#
With all the components in place, update App.svelte:
<script lang="ts"> import { onMount } from 'svelte' import { supabase } from './supabaseClient' import type { AuthSession } from '@supabase/supabase-js' import Account from './lib/Account.svelte' import Auth from './lib/Auth.svelte' let session = $state<AuthSession | null>(null) onMount(() => { supabase.auth.getSession().then(({ data }) => { session = data.session }) supabase.auth.onAuthStateChange((_event, _session) => { session = _session }) })</script><div class="container" style="padding: 50px 0 100px 0"> {#if !session} <Auth /> {:else} <Account {session} /> {/if}</div>Once that's done, run this in a terminal window:
npm run devAnd then open the browser to localhost:5173 and you should see the completed app.
Svelte uses Vite and the default port is 5173, Supabase uses port 3000. To change the redirection port for Supabase go to: Authentication > URL Configuration and change the Site URL to http://localhost:5173/
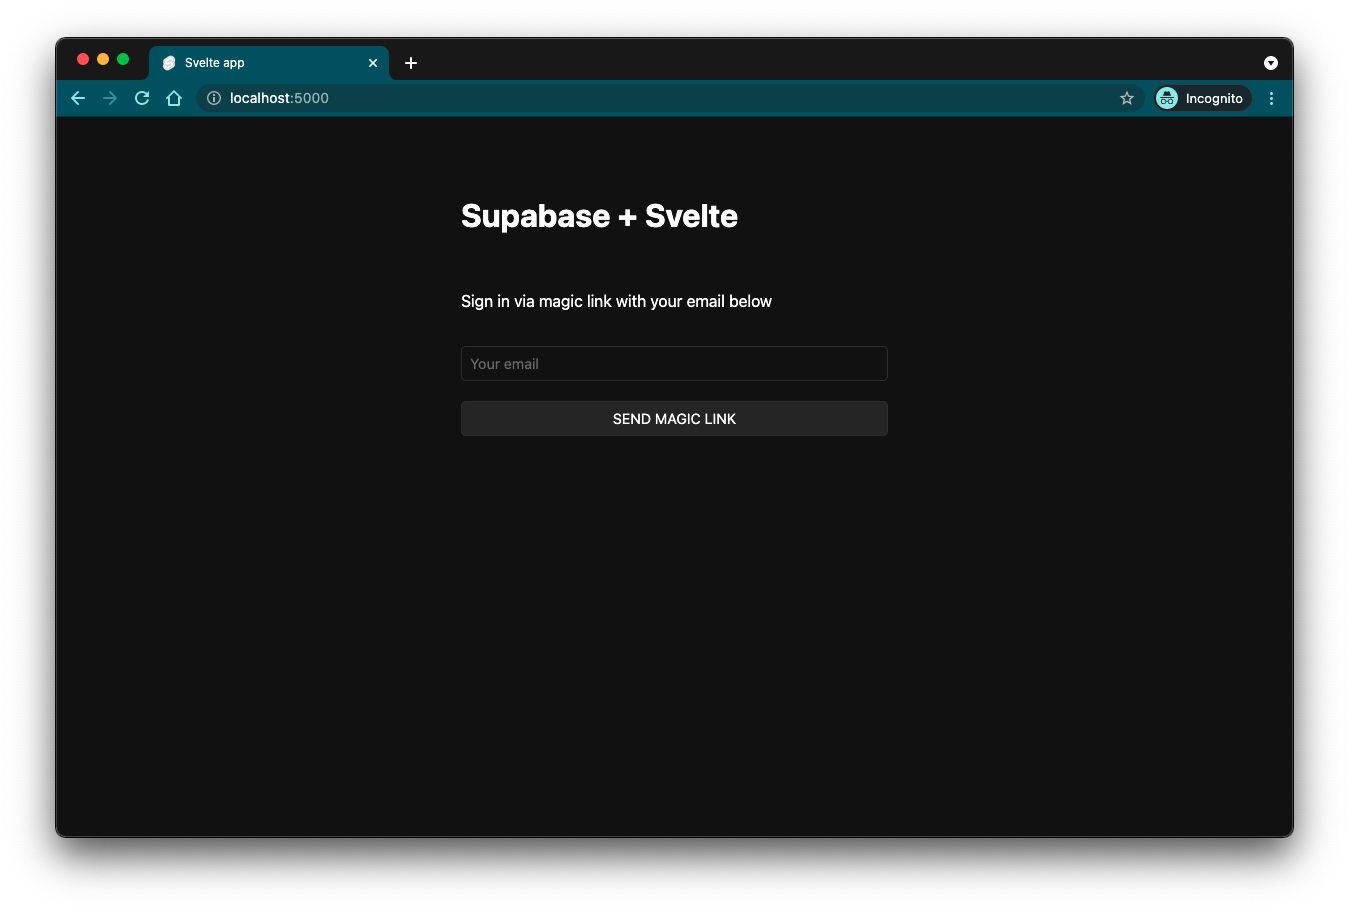
At this stage you have a fully functional application!